EASY TEXTURED BUTTERCREAM CAKES
Clean up the top edge as you would icing a smooth cake by pulling in any excess frosting towards the center of the cake with an offset spatula. Finish off the top with a spiral.
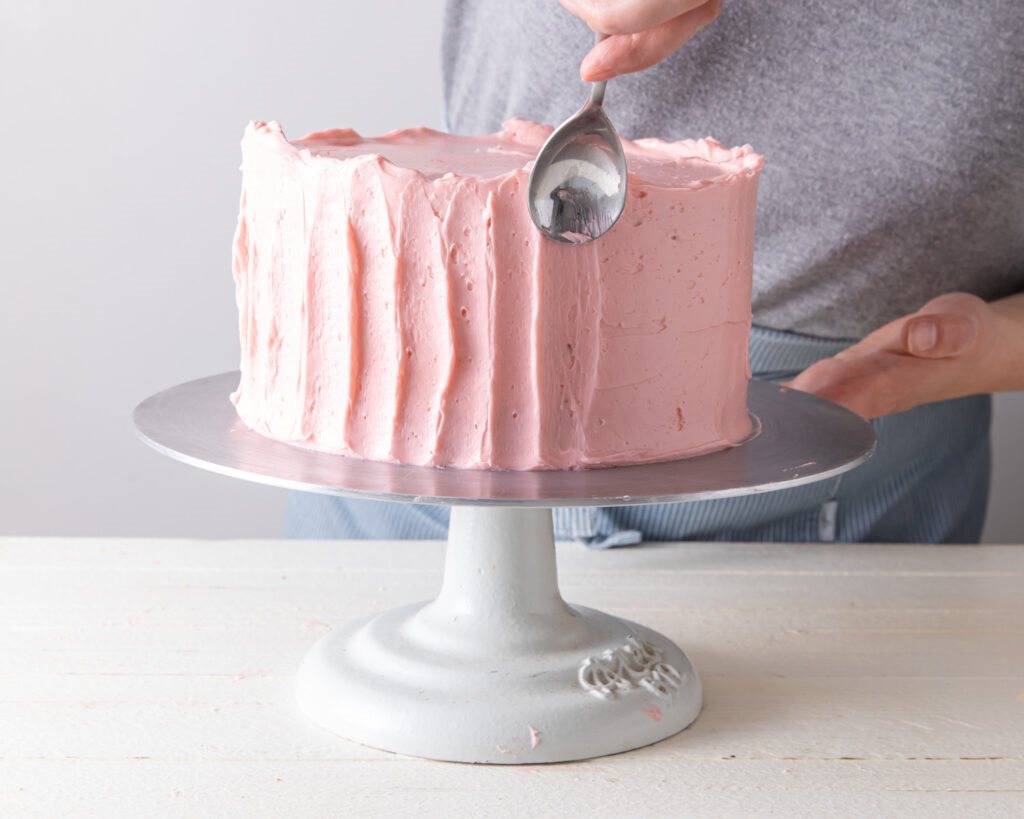
VERTICAL STRIPES
Using a spoon, drag the rounded side up the height of a smoothly iced cake. Use the width of the spoon to create the ridges that define the stripe. Continue around the entire cake and finish off the top by pulling in any excess frosting on the top edge.
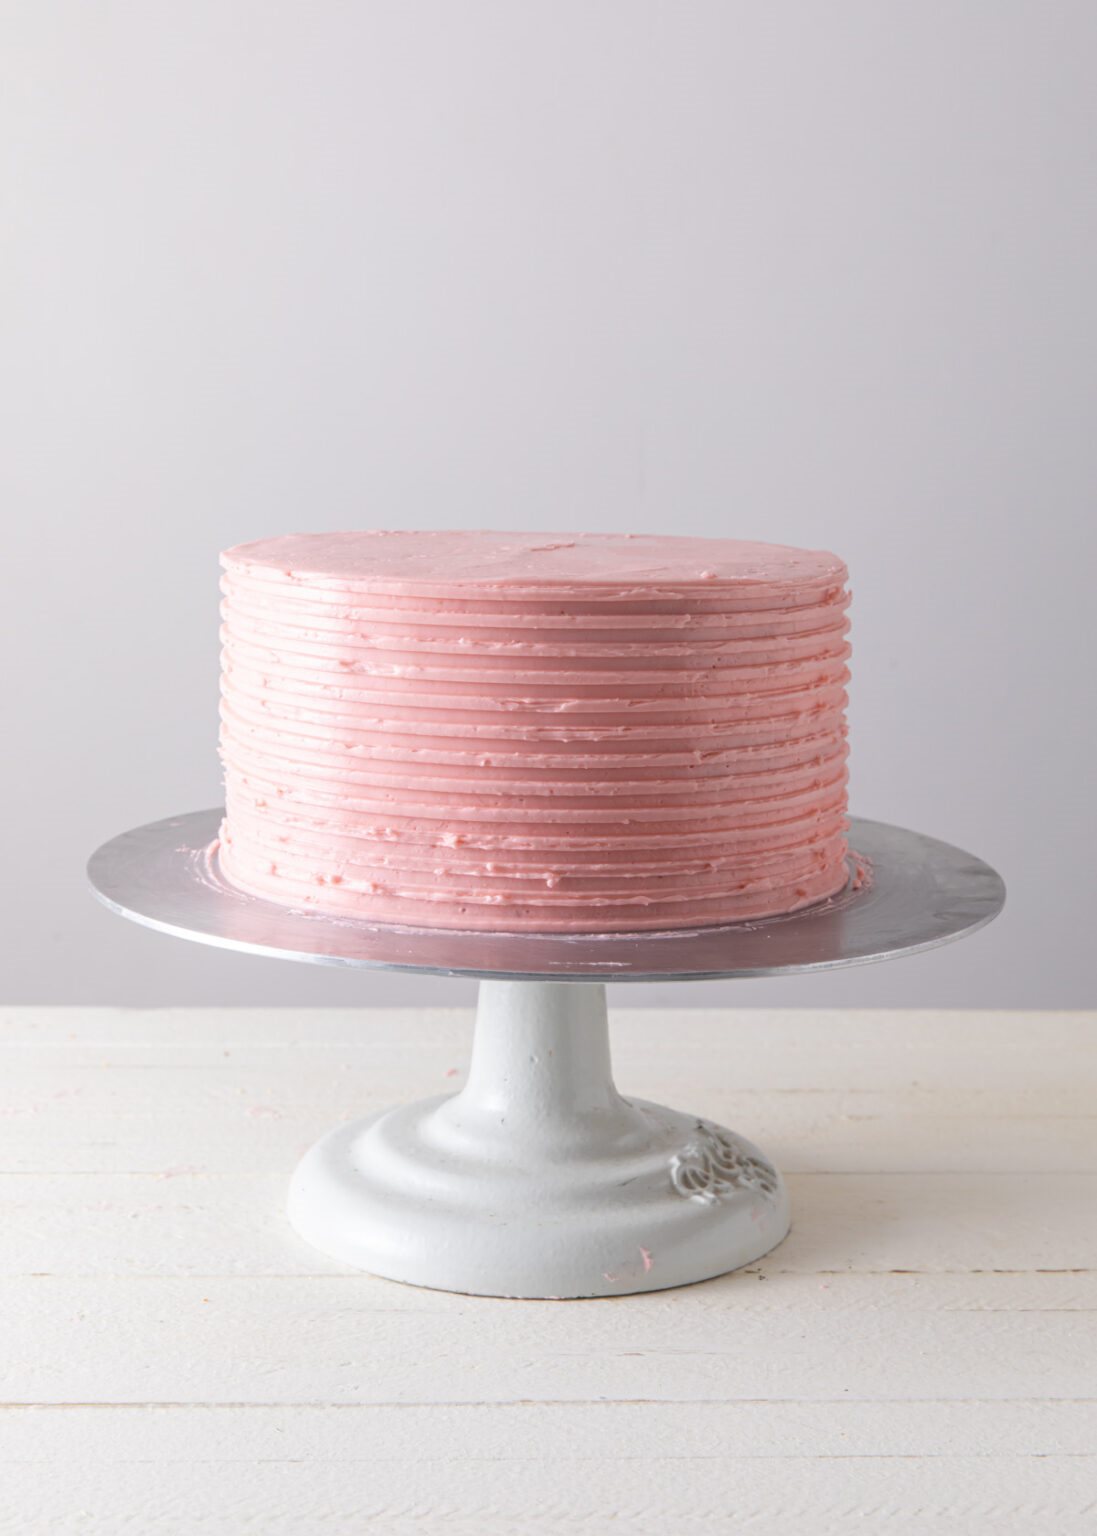
SKINNY COMBED STRIPES
Use a cake comb as you would an icing smoother to get this textured buttercream look. While holding the rigid edge perpendicular to the turntable, gently touch the teeth of the comb to a smoothly iced cake. Spin the turntable while keeping the comb still.
Finish off the top by pulling any extra icing towards the center of the cake. If the ridges on the cake start to clump or become undefined, make sure your icing is not too thick and clean the comb between spins.
Use this same technique to create filled-in stripes as well. Take buttercream of a different color and carefully pipe it in between the ridges. Use an icing smoother to remove a layer of buttercream around the sides to reveal the stripes,
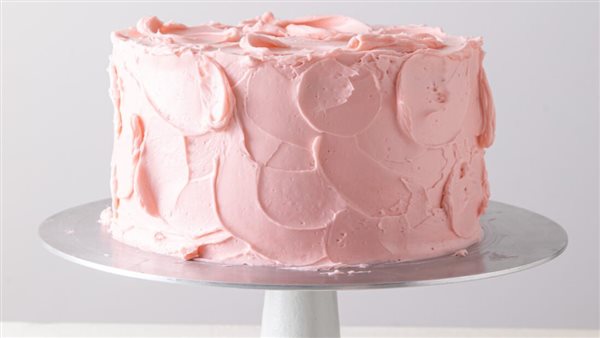
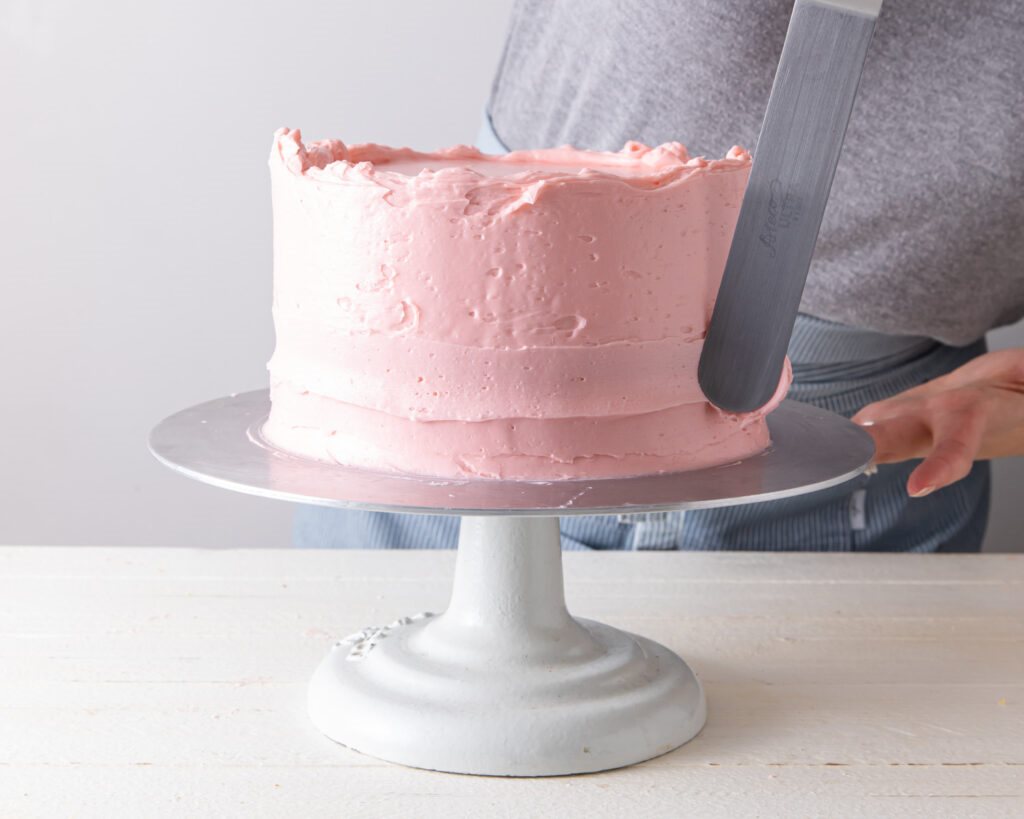
RUSTIC BUTTERCREAM FINISH
Although this texture might look effortless, there is some strategy behind it. Start with a semi-smooth finish to make sure there is an even layer of icing on all sides of the cake. Aim for a look that is rustic and "home-made," but not messy.
Once the buttercream is already evenly applied, use a small off-set spatula to give it some natural-looking swirls and strokes. Try drawing "S" and "C" shapes, making sure to switch directions as you go around the cake.
Be sure to add the textured designs just after the cake is iced. Do not let the buttercream set or crust over, or the designs won't work.